Description
- Calibration of beam steering capability
- Calibration of angular and linear resolution
- Evaluation of focussing ability
- Build TCG curves
- Determination of beam profile
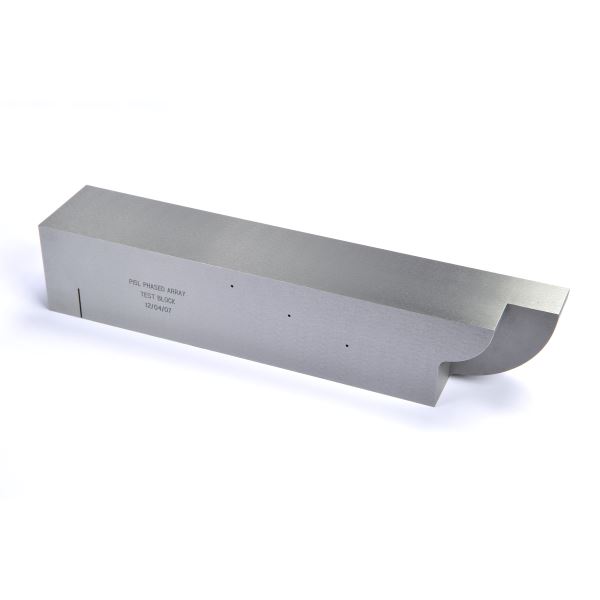
The 3 x 1.5mm Ø SDH holes allow for the TCG (Time Corrected Gain) to be calibrated down to a depth of 45mm on half-skip and approx. 100mm on full-skip. This checks the ability for the Phased Array probe to resolve defects at the set depths. In theory the user should be able to size defects down to 1.5mm at each depth (hence the Ø of the holes). Can also be used in calibrating the velocity and wedge delay).
The 20mm notch near the corner of the block is there for sensitivity purposes. It can also be used for tip diffraction which is the most accurate way for depth/defect analysis.
The 2 radii (25mm, 50mm) are used in the calibrating the velocity. Having 2 known references allows the Phased Array unit to calculate the velocity of the material (carbon steel in this instance).

